How to Apply Iron-on Reflective Tape

If you have recently purchased heat transfer reflective tape, you may be wondering how to apply the material on the adhesive side. This article will discuss how to apply the iron on reflective tape, the material itself, and how to prepare the fabric for the adhesive side of the reflective tape. Here are some tips to help you with the process. Once you’ve read these tips, you’ll be well on your way to making your reflective tape look brand new.
Tips you need to know before applying iron on reflective tape
Operate temperature
The proper application of heat transfer reflective tape is vital to its longevity and warranty validity. XW Reflective reflective tape is best applied between 50degF and 100degF, as temperatures above that limit pre-adhesion.
To help maintain this temperature, portable heaters or a hotbox are recommended.
To apply reflective tape over rivets, a single-edged razor blade with a sharp blade is ideal.
When using heat transfer reflective tape, you should follow the instructions for application carefully. The material should be clean and dry before applying. Once dry, it will be permanent. The tape will reflect light, which can help you stay safe. It will also make you more visible in low-light conditions. In the event of a mishap, the reflective tape will catch the light and reflect it back.
Why Choose Iron-on Reflective Tape
When you are riding your bike or walking around town, you should always wear a reflective vest or hat. This will make you more visible and safer, and you will be more comfortable wearing it. Moreover, iron-on reflective tapes are more comfortable to wear than sew-on ones. The reflective material consists of a polyester film coated with special glue and glass microlenses. The microlenses reflect light back to the source. You can download the heat transfer instructions from the product page.
XW Reflective reflective iron on tape can be applied on any type of fr-clothing, including workwear, shoes, and helmets. It can also be applied using an iron. The tape is designed for different kinds of fabrics, including knit and woven fabrics. Woven fabrics are more likely to stay fixed to the surface than knitted ones. To apply it to fr-clothing, you must follow certain guidelines.
Application method
If you’re looking for an easy way to increase the visibility of your workwear, you can iron on reflective tape. It’s an easy and effective way to make your clothing more visible, and you can get a great price on it, too. Iron on reflective tape can be applied to fabric, backpacks, and clothing. Just follow these instructions to install it on your clothing. In addition, you can purchase reflective tapes that are flame retardant, which means that you won’t have to worry about being a fire hazard.
The length and width of reflective tapes vary. You can find reflective tape that is 1cm or 50m in length. The tapes are ideal for sewing, but you also have the option of screen printing or ink-jet printing. They are also excellent for sticking on ad signs, mailboxes, and traffic signs. For more information, visit the manufacturer’s website. The application methods vary, but they’re generally the same.
Material
If you’re in the market for a new piece of reflective tape, you may be wondering how to apply it properly. There are some important things to keep in mind when applying the reflective tape. While ironing reflective tape is simple, you must do it properly to ensure durability and warranty validity. For XW Reflective reflective tape, the best temperature for applying it is between 50degF and 100degF, because temperatures above this can cause pre-adhesion. Using a portable heat lamp or hotbox can help you keep the markings above 50degF while applying the reflective tape. For your convenience, you should also purchase a sharp utility knife.
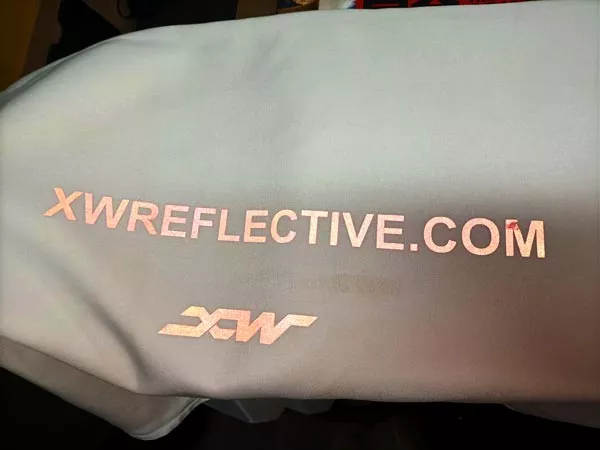
- Put the hoodie on the heat transfer machine
- Press the hoodie to flat it tidy
- Put the polter cutted Reflective Heat Transfer Tape on the hoodie where you want to iron on
- Press the plate on the hoodie under 148 degrees…
- Wait for 15 seconds……
- Check whether the design pressed on the hoodie tightly ( There is a heat warnning to you, to be careful.
- Peel off the based paper to check the design, if ok, then done. If not good, do steps 4, 5, 6 again.
For more details, you can follow this video


Leave a Reply
Want to join the discussion?Feel free to contribute!